
Proposed Value:
This feature has been developed to assist all scheduling officers in doing bulk scheduling whenever needed for the employees on Rotation OR non-fixed schedules as doing it on excel as a bulk upload will facilitate and accelerate the scheduling process in alignment with the HR market demands.
How to use Excel file to assign shifts:
Go to home page > Select Scheduler > Click on Upload schedule button and start by watching the tutorial video
Click on Next to start the file preparation stage
To summarize the steps mentioned in the above video, kindly read the below steps carefully:
Preparation stage (before downloading the excel file template)
- Kindly ensure that all shift presets have been defined earlier on Jisr system
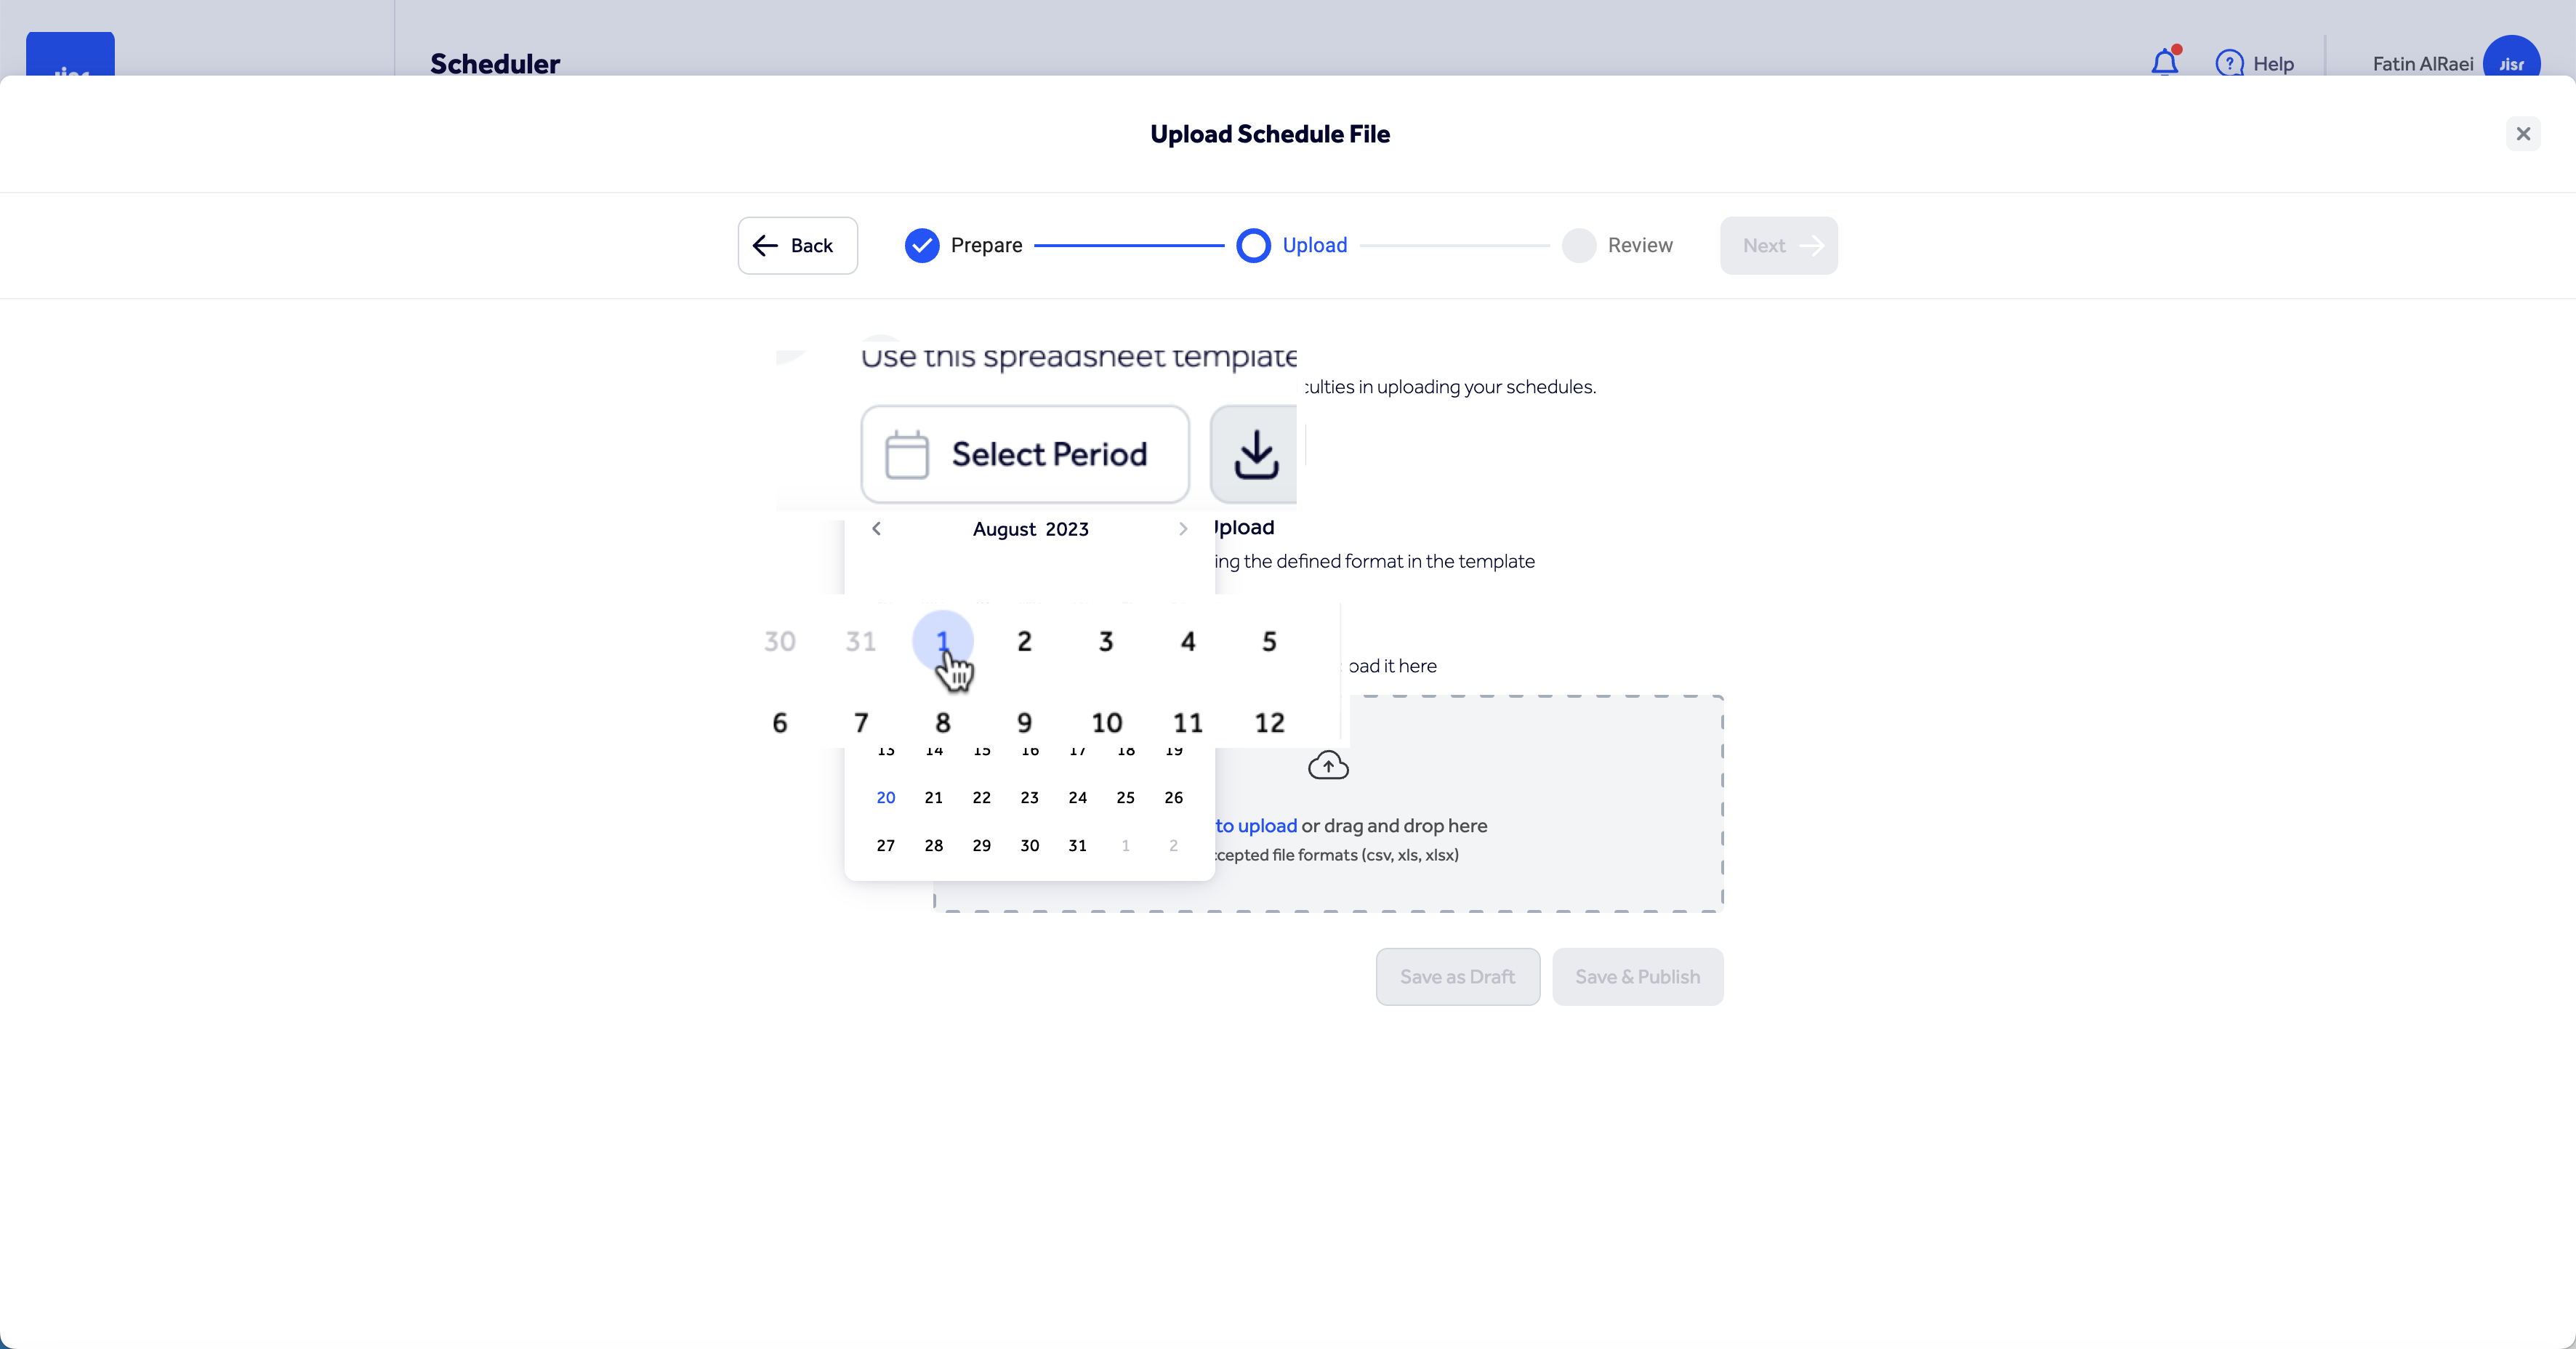
- Kindly ensure to select the dates from the calendar to specify the duration you want t use for this bulk scheduling process
- Click on Download after selecting the period
 Before Uploading the File (Getting the data ready)
- Ensure to use the shift ID that you will find by clicking on the shifts tab
- To use the shift ID, all what you need is to copy it and paste it under the selected dates listed on the main sheet. You can always repeat the same shift to the same employee on different days OR for different employees on the same day by pasting it by their names or under the selected dates
- To assign more than one shift during the same day add a comma between the selected shift IDs, and ensure that there is no overlapping between them by checking the start and end time. Additionally, check the clock in and out windows to avoid getting the file rejected. You can find all the relevant information by clicking on Shifts Tab.
- To assign Off days, use the word (Off) under any date you plan to schedule as an off day
- Ensure that you have saved the file after all the performed changes
Uploading Stage
- You can upload the file by dragging the file and dropping it in the upload file window shown on the below screenshot OR click on "Click to upload" button and choose the file from your device
- Once the check icon appears, this indicates that the file has been selected
- After that, click on Save as draft
- Some warnings would be displayed for you as per the below screenshot, please ensure to carefully read each one of them before clicking on "Confirm & Import"
- You can also choose NOT to proceed by clicking on Cancel
Review Stage (After Uploading the File)
- Processing the uploaded file may require some time to verify the uploaded data
- You can close the uploading screen and work normally on the system to avoid any delay; a pop up notification will be displayed to you upon the import process completion
The status of the imported file would fall under one of the below categories:
1. Upload Completed: This indicates that all file records have been successfully imported without any errors. You can now click on "Upload Completed"; then review all displayed details to double check. Finally, click on Done to complete the bulk scheduling process
2. Partially completed: When some records are successfully imported whereas some are NOT. To check the errors, click on the partially completed button
- By clicking on it, you will be able to check the number of the successfully imported records, and the rejected ones
- You can download the error file by clicking on the rejected schedules file; through which you can check the error message by pointing to the red colored cells. You can also perform all required edits on the same file
- After that, click on Uploading the corrected file button to upload the corrected file
3. Failed: This indicates that NONE of the imported recorded have been successfully uploaded
Note: All the above mentioned steps are for Assigning the shifts to the employees. To have them published, we need to follow the steps explained in the below article:
Comments
0 comments
Please sign in to leave a comment.